Having the ability to host your own apps is amazing isn’t it?
I was able to repurpose my spare laptop and turned it into a Homelab with Docker
& docker-compose
Introduction
When i got my new laptop, I didn’t want to turn off my old machine forever. Running some experiments by hosting a minecraft server for my friends, and configuring port forwarding in my router sparked an idea that I really don’t have to turn off my old laptop. I could still use it as my secondary machine and have a “unique” setup.
And thus, began my homelab journey (which is still, an on-going one) 🌠
For simplicity’s sake, I assume you already have Docker & docker-compose installed on your machine or else you can follow along from the official docs
I also assume that you have SSH access on your machine and have changed the
config to “best practise” security settings (like disabling password
authentication, root ssh login etc) and installed
fail2ban to avoid brute
force login attempts
Basic Setup
Portainer
First-off, I’d like you to install and setup Portainer. Portainer Community Edition specifically.
Portainer allows you to manage your Docker containers with nice a user friendly GUI. I’ve noticed the GUI helps me a lot tracking changes of what’s been happening when debugging/developing docker images or a container stack
Installation
The official docs install portainer via docker CLI commands. I’ve converted those to a docker-compose yaml since I find it easier to upgrade containers to a newer versions with a simple command rather than going to the docs and follow the process all over again.
-
The compose file
The follow is the compose file that you can save it in a folder named
portainer/maybe.# docker-compose.yml version: "3.9" services: portainer: container_name: portainer restart: always image: cr.portainer.io/portainer/portainer-ce:2.9.3 volumes: - /var/run/docker.sock:/var/run/docker.sock - ./portainer_data:/data ports: - 8000:8000 - 9000:9000 - 9443:9443Now you can run
$ docker-compose up -din the current directory.A new folder
portainer_datais created in the directory where thedocker-compose.ymlfile is located -
First time setup
Now you can go
<your machine's IP>:9000and see the login portal for portainer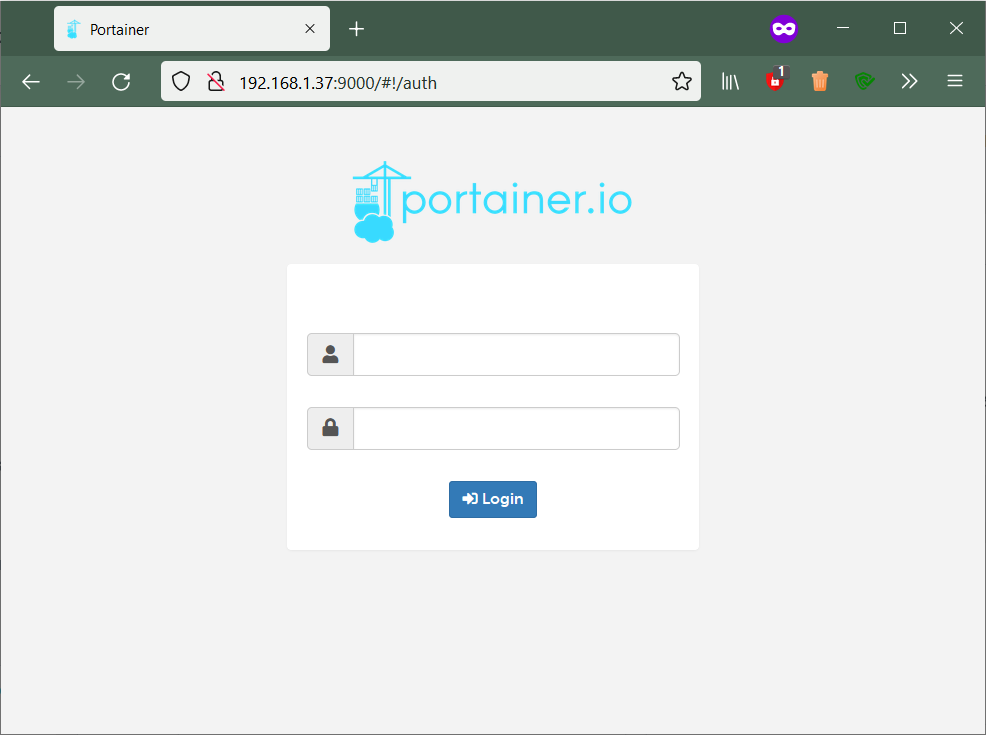
portainer login page
Now you can follow along the instructions at the page to change your credentials something other than default
Grafana-Prometheus-Node-exporter Stack
One more “stack” of apps that i love is the Grafana stack. This stack composes of the following apps:
- Grafana: Metrics Dashboard & Visualiser
- Prometheus: A time-series database
- Node Exporter: Machine metrics exporter
To explain in short,
Node Exporter is an app which exports almost all stats about the machine (like
CPU Temps, RAM usage, storage usage and all other statistics) in a format that is
“scrape-able” by Prometheus.
Prometheus is a time-series database that stores these scraped data, puts them
in its database waiting to be queried
Grafana is a dashboard visualisation tool that periodically queries the
Prometheus database (PS: not just limited to Prometheus, can add almost any
database as a data source) and displays those metrics in nice beautiful graphs
✨
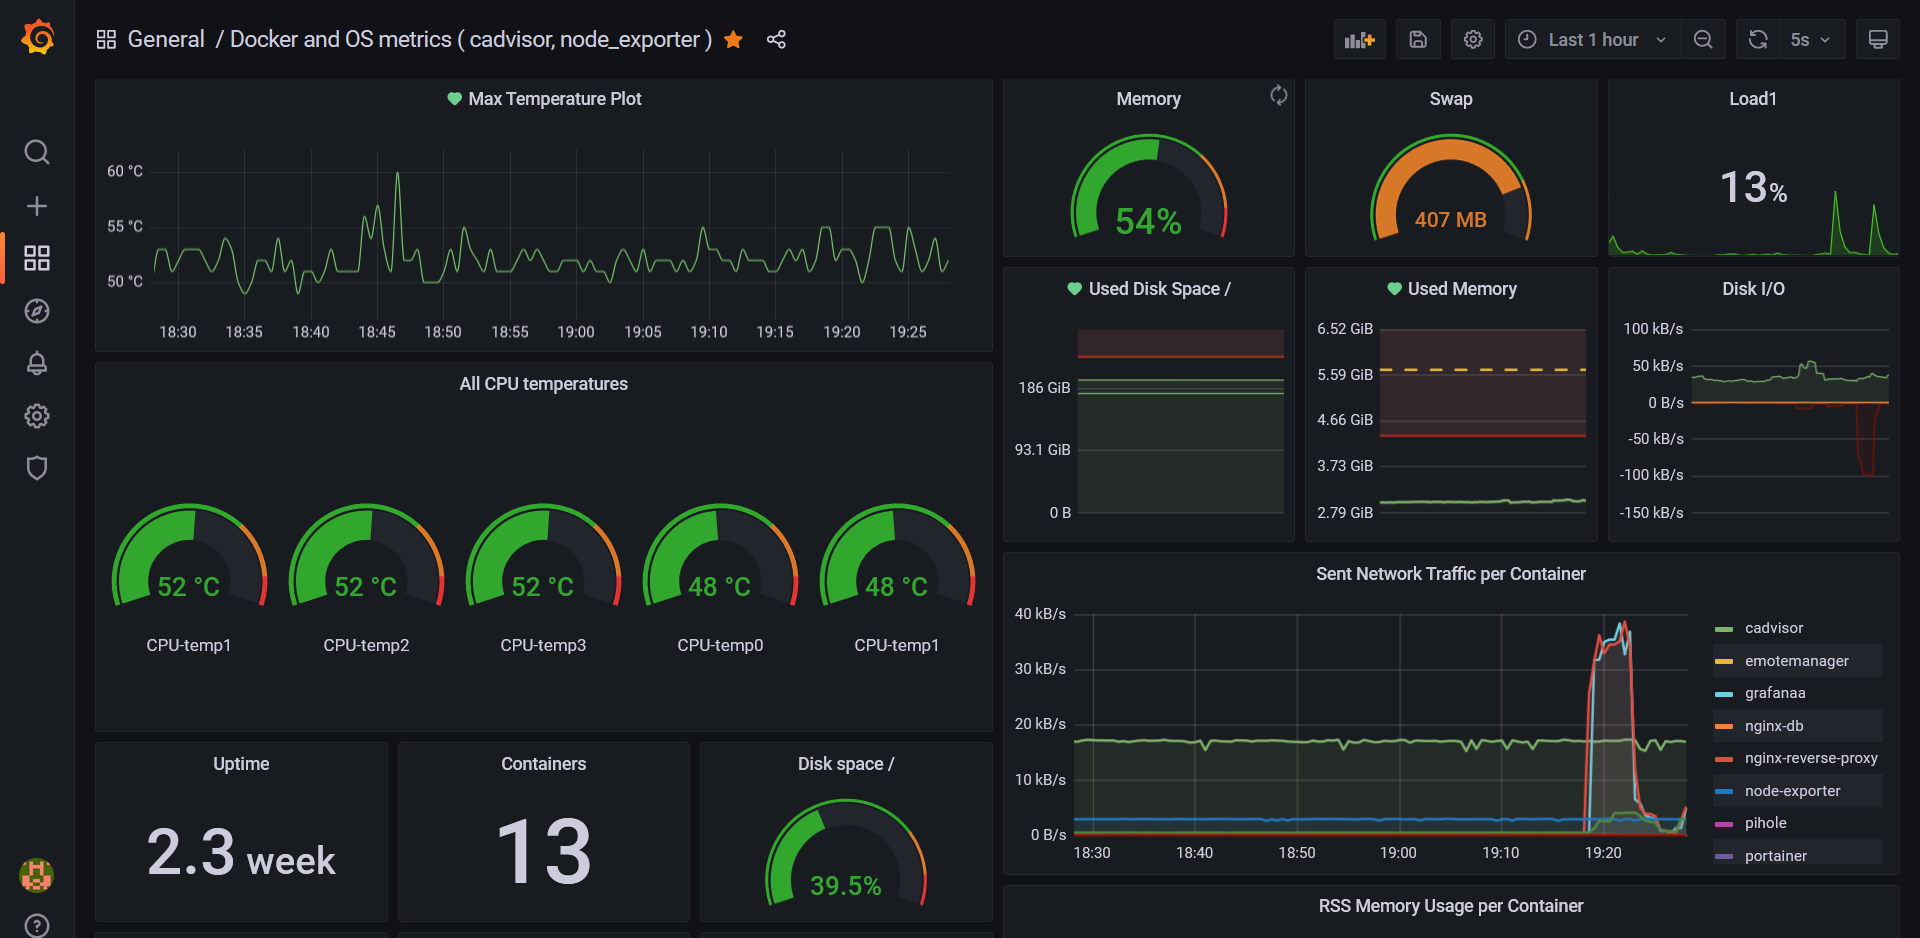 |
|---|
| This is how my Grafana dashboard looks like |
Installation
-
The compose file
This is the docker compose file that I’m using. (I’ve also left some performance tweaks I’ve made after researching through node-exporter’s github issues page to make it consume less CPU resources.)
networks: monitoring: driver: bridge services: node-exporter: image: prom/node-exporter:latest container_name: node-exporter restart: unless-stopped volumes: - /proc:/host/proc:ro - /sys:/host/sys:ro - /:/rootfs:ro command: - "--path.procfs=/host/proc" - "--path.rootfs=/rootfs" - "--path.sysfs=/host/sys" - "--collector.filesystem.mount-points-exclude=^/(sys|proc|dev|host|etc)($$|/)" expose: - 9100 networks: - monitoring prometheus: image: prom/prometheus:latest container_name: prometheus ports: - 9090:9090 command: - --config.file=/etc/prometheus/prometheus.yml volumes: - ./prometheus.yml:/etc/prometheus/prometheus.yml:ro depends_on: - cadvisor - node-exporter networks: - monitoring grafana: container_name: grafanaa image: grafana/grafana:latest volumes: - ./grafana_storage:/var/lib/grafana ports: - 3000:3000 networks: - monitoring -
Prometheus config file
Before running this setup, you also need to create a new file in the same directory as
prometheus.yml. This is a configuration file used by prometheus. It includes the configuration of how often should it scrape the data exporters and where are the data sourcesscrape_configs: - job_name: node scrape_interval: 5s static_configs: - targets: ["node-exporter:9100"]Now you can run
docker-compose up -dgo to grafana on port3000and setup your dashboards from there.
Node-exporter and prometheus would automatically start collecting system statistics almost like plug-n-play
As of now, I’ve covered only 4 of the applications I use. In future I would
really like to add here how i set up all these services behind a
reverse proxy and hosting some optional discord
bots (via docker ofcourse ;)) for my friends’ server.
Either that or you can go on your own googling through the countless personal blogs
written by other homelab enthusiasts or hop onto r/SelfHosted
or r/HomeLab
Conclusion
This is just the beginning of the self-hosted homelabbing journey. You could add some hard drives, configure them into RAID mode and you have yourself a mini NAS for your home network. You can run Home Assistant to control almost all of your IoT devices at home without the need of Google or Amazon.
The possibilities are endless, all thanks to the easy Docker & docker-compose deployment of ephemeral containers